How to use the SHIVA software
The SHIVA software contains a range of features and operations which enable the model to be viewed and objects to be manipulated in various ways:
- Moving objects
- Resizing, or changing the dimensions of objects
- Rotating objects
- Drilling holes
- Deleting objects
- Pumping or inflating the model (this adds material, or removes it!)
- Duplicating objects
- Rotating the model
- Printing the model
Getting started
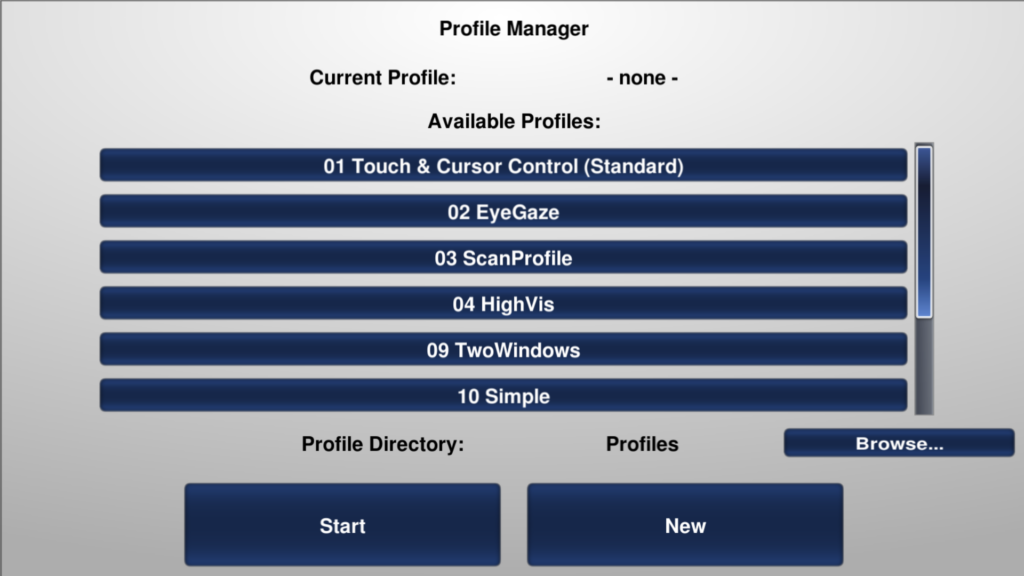
You will first need to select a profile. For our purposes here, we will select the ‘01 Touch & Cursor Control (Standard)‘ profile and then click the ‘Start‘ button:
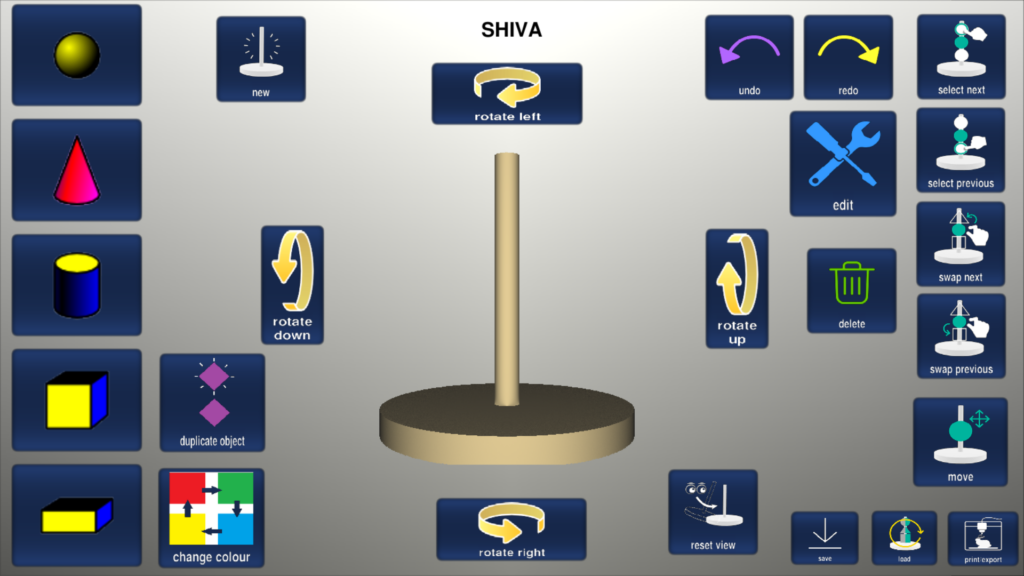
You will then be presented with a screen similar to the following:
Exiting the software
I know we have only just started, but it is important to know how to leave or exit the software.
You can exit the software by returning to the main screen (pictured above) and pressing the ‘Esc’ key on the keyboard. You will then be asked ‘are you sure?’ before exiting.
Adding objects to the pole
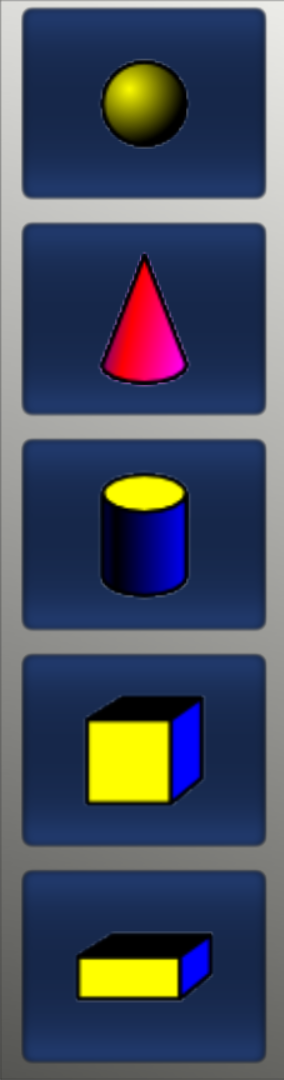
Objects can be added to the pole from a choice of 5 which are positioned on the left of the screen. Starting at the top these are: sphere, cone, cylinder, cube and cuboid. Once an object is selected it is added to the pole. Each subsequent object is stacked on top of the previous or top-most object:
Objects (Primitives)
Selecting objects
The currently selected object is indicated by a ‘bounding box’. Actions are usually performed on the selected object. In the example which follows the cylinder is the currently selected object.
Objects can be selected by clicking/touching them directly or using the buttons on the right of the screen:
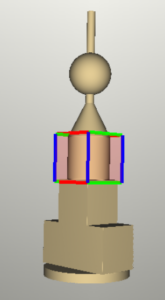
Bounding box example
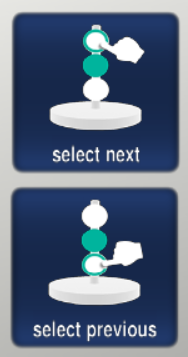
Select next/ previous
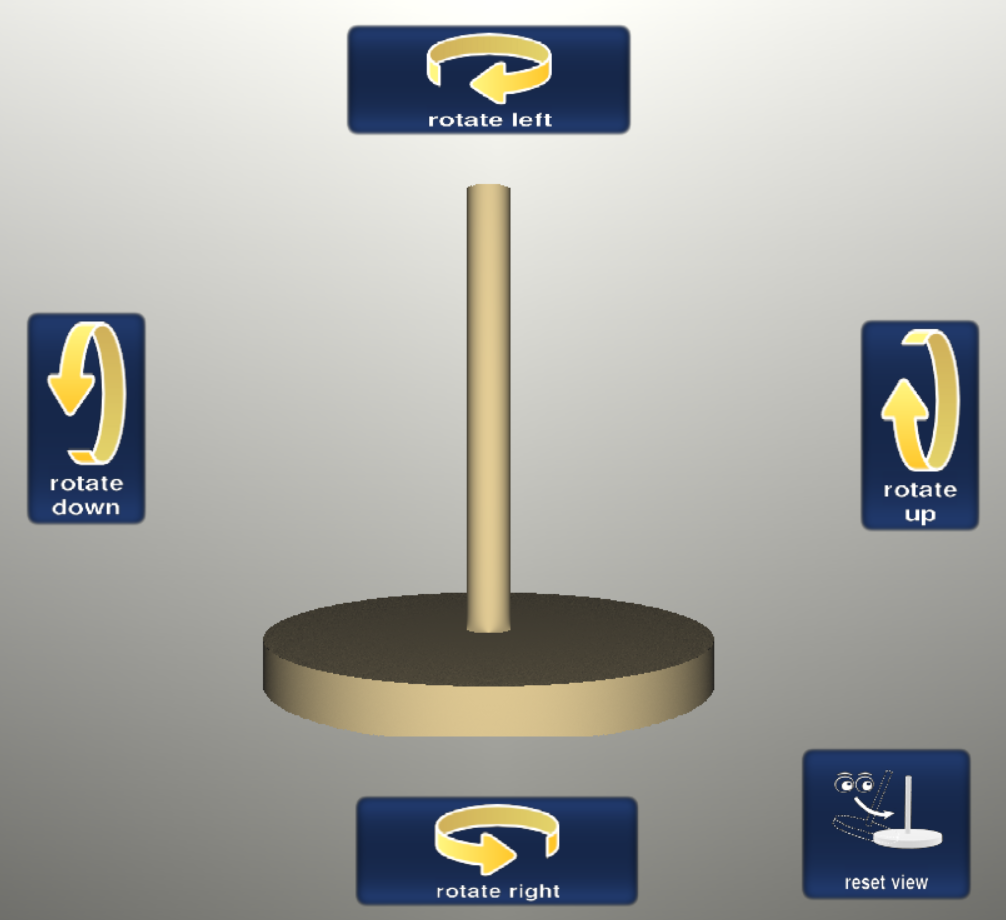
Viewing the model from different angles
The model can be viewed in 3D using the four rotate buttons and also by clicking and dragging using the mouse or a finger:
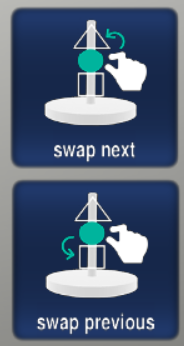
Swapping the positions of objects
The positions of two objects can be swapped by first selecting an object and then clicking one of the two swap buttons:
buttons
Changing the colour of the model
Selecting the ‘change colour’ button changes the colour of the base, pole and model. Clicking the button cycles through a range of colour options:

Deleting objects
Selecting the ‘delete’ button removes the currently selected object from the pole (the one indicated by the bounding box). NOTE: If an object is deleted and there are objects above, these do not fall to close the gap. This is a deliberate design decision, to preserve the position of objects and stop models from collapsing if a lower object is removed.

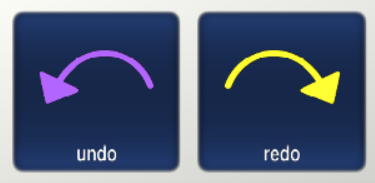
Undo/redo
‘undo’, ‘undoes’ the previous command. ‘redo’, ‘redoes’ a previously undone operation. In the following example the deletion of an object is undone, followed by a redo which then deletes the object once again:
Saving, loading and printing
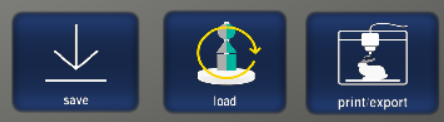
‘save’, saves the model in a file with a system generated sequential file name e.g. model19.
‘load’ allows the selection of a previously saved model.
‘print/export’ displays a screen with various options relating to the 3D printing of the model and also a ‘save as’ button and the facility to show/hide the base and/or pole. These will be be discussed in greater detail later.
Edit screen

Move objects
Being able to move objects in 3 dimensions enables more complex models to be assembled:
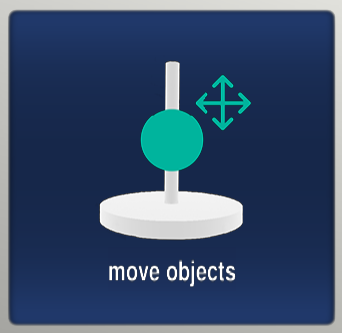
As moving objects is a frequently used feature/operation, there is also a dedicated ‘move’ button on the main screen for quick access (towards the bottom-right of the screen).
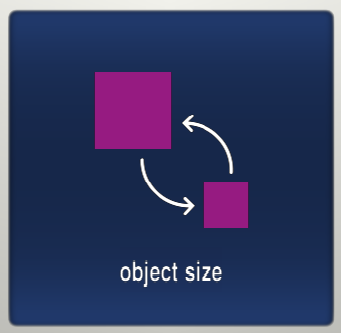
Resize objects
Objects can be resized in any of their dimensions, i.e height, width and depth, independently of one another:
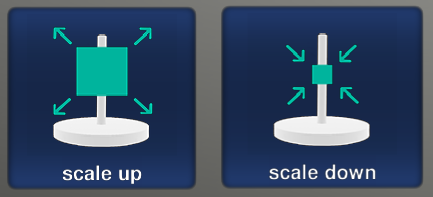
They can also be enlarged or decreased in all dimension using the ‘scale up’ and ‘scale down’ buttons.
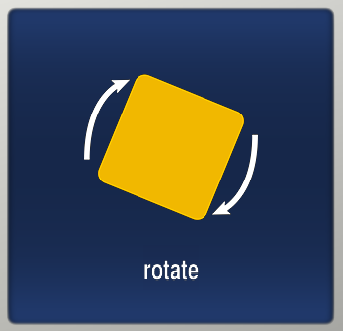
Rotate objects
Individual objects can be rotated in-place left and right, up and down, and rolled left and right:
Rotation can be complicated. The rotation of each object is always relative to the object itself rather than you. For example if you rotate a cuboid ‘left’ 90 degrees, and then rotate it ‘up’ 90 degrees, it won’t stand up in front of you, instead it will appear to roll to the right. (Example needed?)
NOTE: There are currently some issues with rotation, which we are aware of, and someone is working on fixing this. The feature can be used, but may seem a little confusing at present.
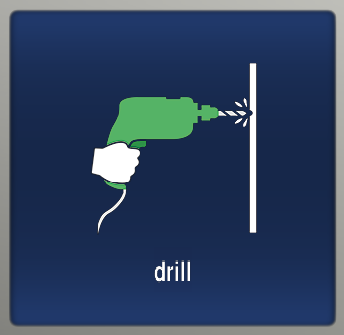
Drill holes
Different sized holes can be drilled using both the drill positioning buttons, or using the cursor or a finger. The model view can be changed so that holes can be drilled from other sides and angles.
Several objects can be drilled at the same time if the drill sight passes through them. Drilling should always be the final operation performed as drill holes do not move when objects are moved, resized or rotated, and they cannot be deleted (but can be undone).
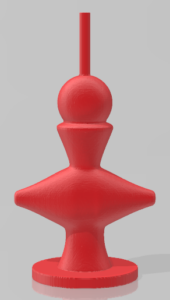
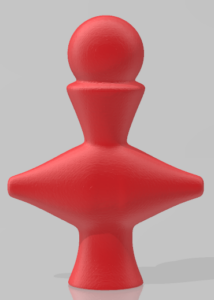
Pump/inflate the model
Models can be pumped or inflated which adds extra material where the objects touch each other:
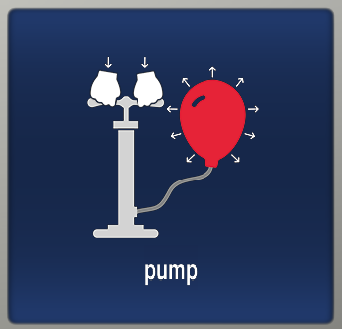
NOTE: Decreasing the pump too much can make the model start to deform and disappear.
Duplicating an object
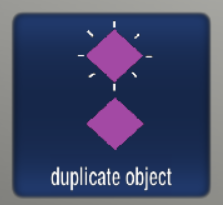
Duplicating an object makes sense when you already have an object that has had its dimensions or orientation changed and you want more of them.
‘duplicate object’ makes a copy of the currently selected object (the one with a bounding box around it) and adds it to the top of the pole. The size and rotation of the original object are passed on to the duplicate.
Things to keep in mind/Caveats:
- How you are viewing the model changes how the operations appear to behave (tip: always reset the view first)
- Changes to an object’s size may not do what you think – it depends on its orientation (if you have made an object ‘rotate up’ 90 degrees and then make it taller, it will appear to be getting deeper)
- Rotating is not what you think! (The object rotates according to itself)
- Drill holes don’t move with the objects so do them last
- Some models cannot be printed due to overhanging parts or sections that are disconnected or floating. Decide as you go whether you will want to print the model as it may be too late at the end. As the model is being design, consider whether it will print successfully.
NOTE: As of July 2020 there are some persistent graphics bugs which means that the model can sometimes appear grainy, spotty or go dark. Someone is working on trying to fix this.
‘print/export’ screen
This screen contains options for exporting the current model ready for 3D printing. The model can be printed with or without the pole and the base. You wouldn’t usually wish to print a model with the pole, but it may be useful if there are gaps in the model and you still want to print it. Often including the base can help the model to stand up correctly once printed.

The .obj file format (but not .vol) is widely supported and you can open these files in software such as the free ‘3D Builder’ software in Windows 10.
This screen also contains a ‘Hide and Show’ button for hiding the pole and base to see how your model would look when printed with/without them.
There is also a ‘Save As’ button which enables you to type in a filename of your own choosing when saving the model, rather than the system generated filename.
Mark Moseley’s tips
- Start simple: Begin with the basics of adding, deleting, moving, rotating the model and so on, before moving on to the edit operations. Once ready for the edit options, start with ‘move’ and ‘resize’. ‘Drill’ and pump are fairly straightforward with ‘rotate being the most complex.
- Difficulties selecting objects: If you experiencing difficulty when trying to select an object by clicking on or touching it e.g. because a larger object is getting in the way, try using the ‘select next’ and ‘previous’ buttons instead.
- Lots of objects to add and move downwards: If you want to add several objects and then move them down, it is better to add each object singularly and then move it, before adding the next, otherwise you can end up having to issues a lot more commands since the objects keep getting added to the top of the pole and so will have further to travel.
- Rotation of objects:
When rotating an object, always make sure that you first reset the view (using the ‘reset view’ button), otherwise rotation can become very confusing!
If you get confused during the rotation of an object you can always click the ‘reset object’ button which will put the object back to its original rotation.
When spheres, cones and cylinders are rotated on certain axes, this will not be visually obvious i.e. a sphere rotated on any axis does not look any different after rotation, whereas for 2 axes the cone and cylinder will. Cubes and cuboids will appear different after all rotation.
- Drilling: Perform drill operations last (before finalising the model) as they cannot be deleted (only undone) and the holes do not move with objects when they change position, size or orientation.
- Save regularly: Especially if the model has involved a lot of work!
- 3D printing: Sometimes the way that the model appears on screen will not be the best for 3D printing. Sometimes, changing the orientation in the 3D printer’s software will help to produce a more successful print.
Techy stuff
If you are supporting someone else to use this software, the following may help you:
How do I close or minimse the software (where is the cross etc.)?: There are deliberately no close, minimise or maximise buttons to prevent accidental exits out of the software. To exit the software, return to the main screen and press the ‘Esc’ key on the keyboard.
Resizing the window: The window can be docked using the Windows key + arrow keys, or by dragging the sides of the window. If you need to move the application to a second window, drag an edge to the window and then use Windows key + an arrow key.