Ideas and Tutorials (SHIVA)
How tos
Examples of things that you can make
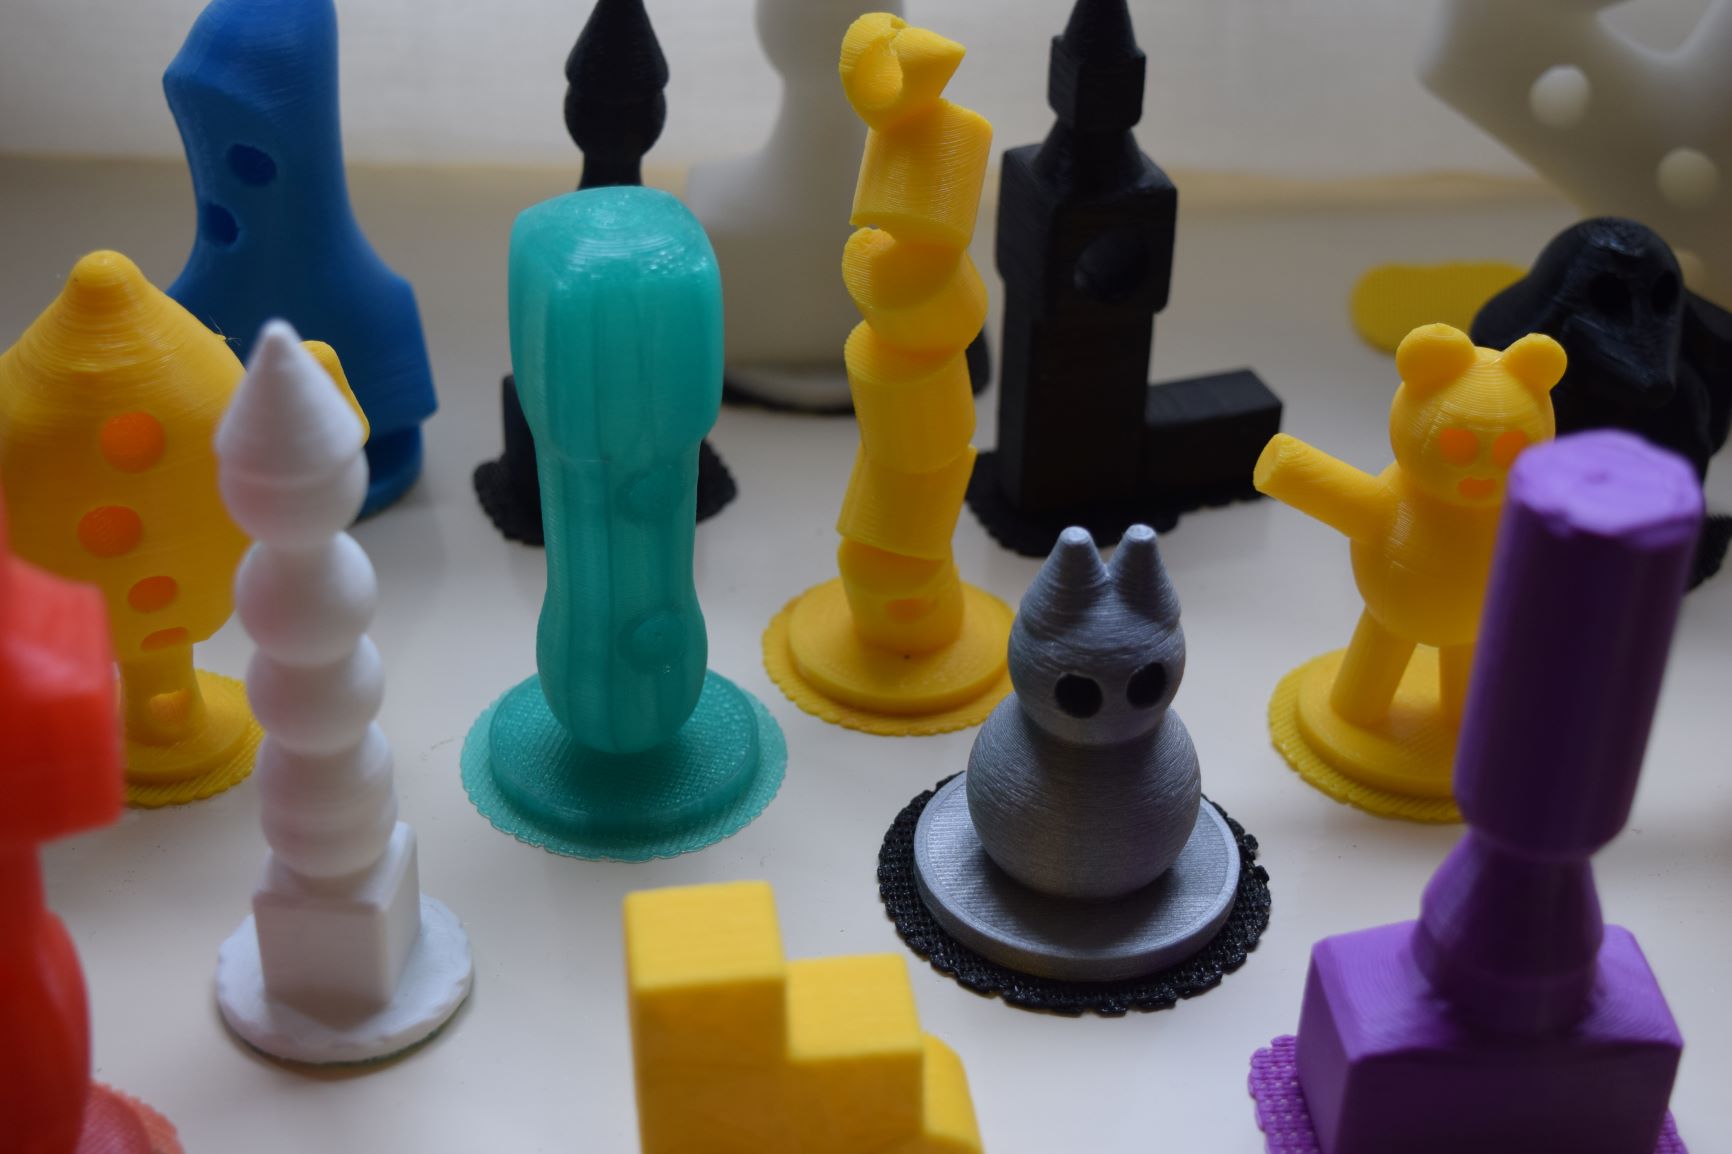
All sorts of things can be made using the SHIVA software. The table further down this page gives some examples along with their level of difficulty. Videos are provided which demonstrate how to make some of these models.
It is important to remember that what is made doesn’t have to look like anything real. Many of the most interesting sculptures made with the software so far have been abstract or ‘art for arts sake’.
Initially, it may be best to focus on the basic operations of the software to help the child master the basics, before moving on to the more complex operations. The rate of progression will depend upon the child’s level of ability and prior knowledge, as well as dexterity.
You can build a simple model at the easy level without even leaving the main screen. It is recommended that this is how you start. Get the pupil used to stacking objects, by selecting them first. Here is a video showing how to make a very basic model (tower) using the SHIVA software:
Introduce them to rotating the model using the buttons and by dragging it using a finger etc.
Once they have the hang of stacking objects and rotating the model, move onto the basics of deleting, selecting or swapping objects, before moving onto the more advanced operations on the edit page.
Moving objects: Focus on 2D movement initially i.e. up/down, left/right, before moving onto the 3D movements of in (away) and out (towards you).
| Model ideas | Skills and operations involved | |
|---|---|---|
| Easy | – Game counter – Chess piece | Stacking, placing one object on top of another |
| Moderate | – Beach hut – Cat | resizing, rotation, moving/repositioning, duplicating, drilling |
| Difficult | – Teddy – Dinosaur – Unicorn | rotation, resizing, accuracy |
The basics
Planning a model
When we learn to draw, we often start with basic shapes such as circles, lines triangles etc.
Making models with SHIVA is similar in that we think about the 5 basic shapes we have in the software: cone, pyramid, cylinder, cube and cuboid. and how these can be used to construct our model
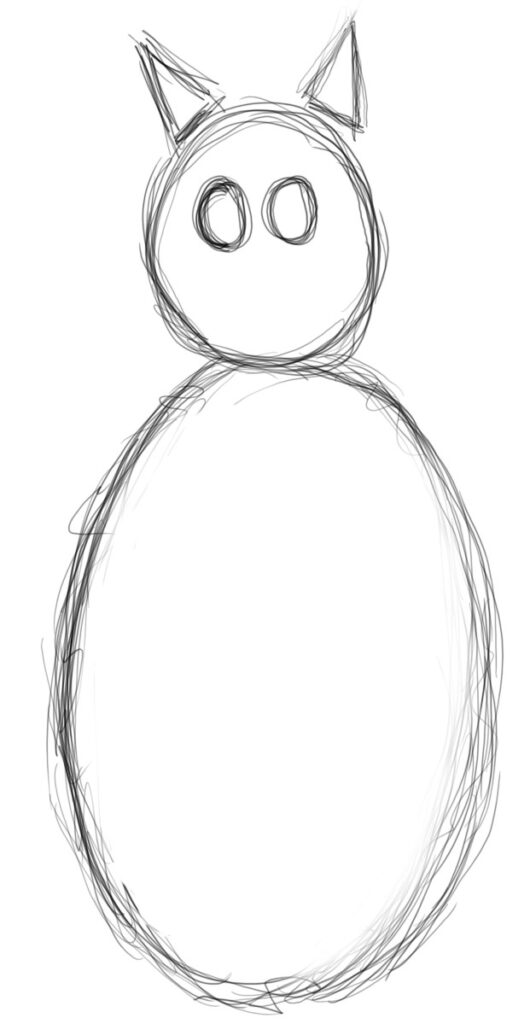
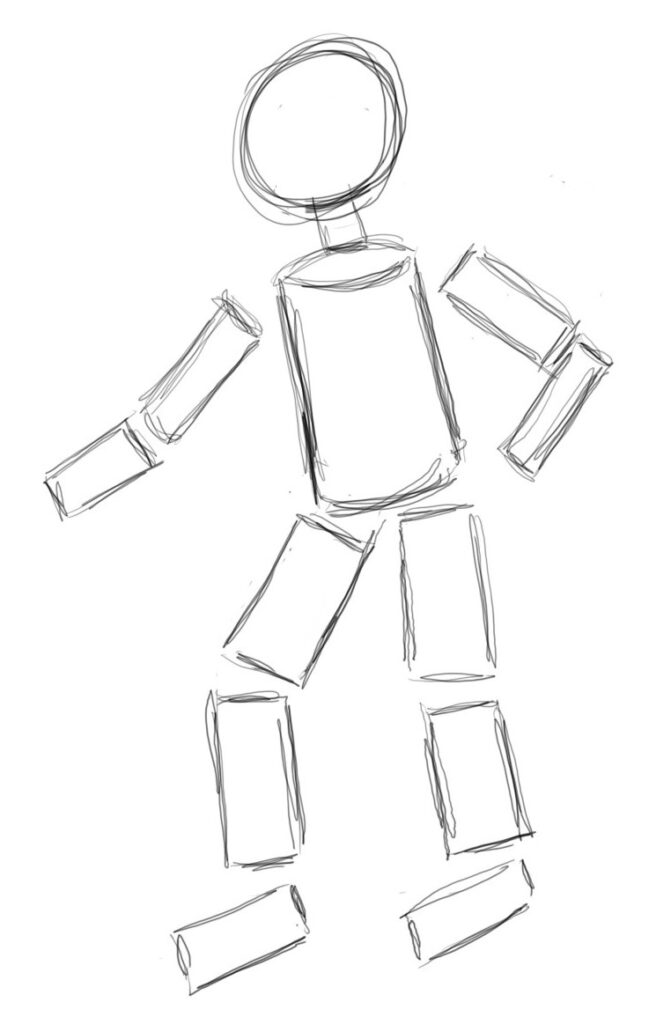
e.g. for a cat, its body and head are spheres and the ears are cones. The person model below is made of a sphere, cylinders and cuboids. This is how we would recommend you think about how to make your model using the available shapes.


We found it very useful to draw sketches like this when making models with children and young people. It helped them to visualise the end result and to break the model down into its component parts.
We found it sometimes helped to have copies of physical primitives to help pupils understand.
Copying: Mark Moseley had a physical pole and objects, and would place the objects on the pole and then ask the pupil to replicate this using the software << PHOTO NEEDED >>. This was especially interesting when a user of eye gaze was asked to do this task as he consistently put the objects on the pole in the reverse order to how they appeared on the physical pole! This was perhaps a result of his prior lack of stacking experiences. It is this kind of information which is fascinating and can really help to target gaps in knowledge.
Choosing a profile
There are a range of profiles for different access methods. These broadly are:
- Touch & cursor control: This enables the SHIVA software to be used with a touch screen, or with a mouse or other cursor control peripheral such as a joystick or trackball etc.
- Eye gaze: The eye gaze unit will need to be running in ‘windows control mode’ i.e. so that where the user looks, the mouse cursor will follow. Dwell select and switch to select should be disabled as the SHIVA software draws the dwell indicator and issues selections.
- Scanning: Currently only single switch, single cell scanning is supported i.e each cell is highlighted in turn and is selected by pressing the space-bar. For this to work with a switch, please set the switch interface used to emulate a press of the space-bar.
Examples of models
Here is a video showing how to make a simple game counter or chess piece (a pawn):
Here is video showing how you can make a cat similar to the one in the sketch above:
What else can the software be used for?
The software can be used for a range of therapeutic and educational purposes.
Speech and Language therapy:
The software can be used to assist with learning about sequencing, the properties of objects and shapes, and the manipulation of objects and related language. Teaching prepositions such as above and below.
Memory: holding several instructions in memory simultaneously
Executive functions: following instructions, making decisions, working collaboratively, abstract thinking.
Planning: Deciding what to build and how to make it.
Modelling: i.e. therapists or teaching staff can demonstrate or ‘model’ for the student and then the student could repeat the actions to build a model.

