The basics of the SHIVA software
The SHIVA software enables you to build a model by selecting the shapes from the left side of the screen which places them one on top of the other on the pole in the middle of the screen:
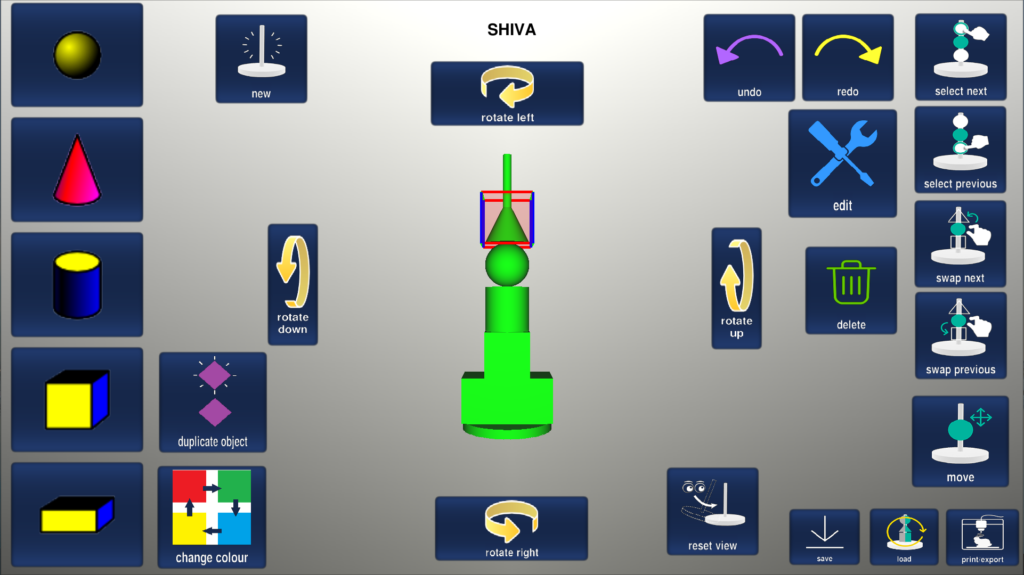
This is just the beginning! Once you have your shapes or objects on the pole you can then move them around, change the size of them, rotate, and drill (these options are available by pressing the ‘Edit’ button).
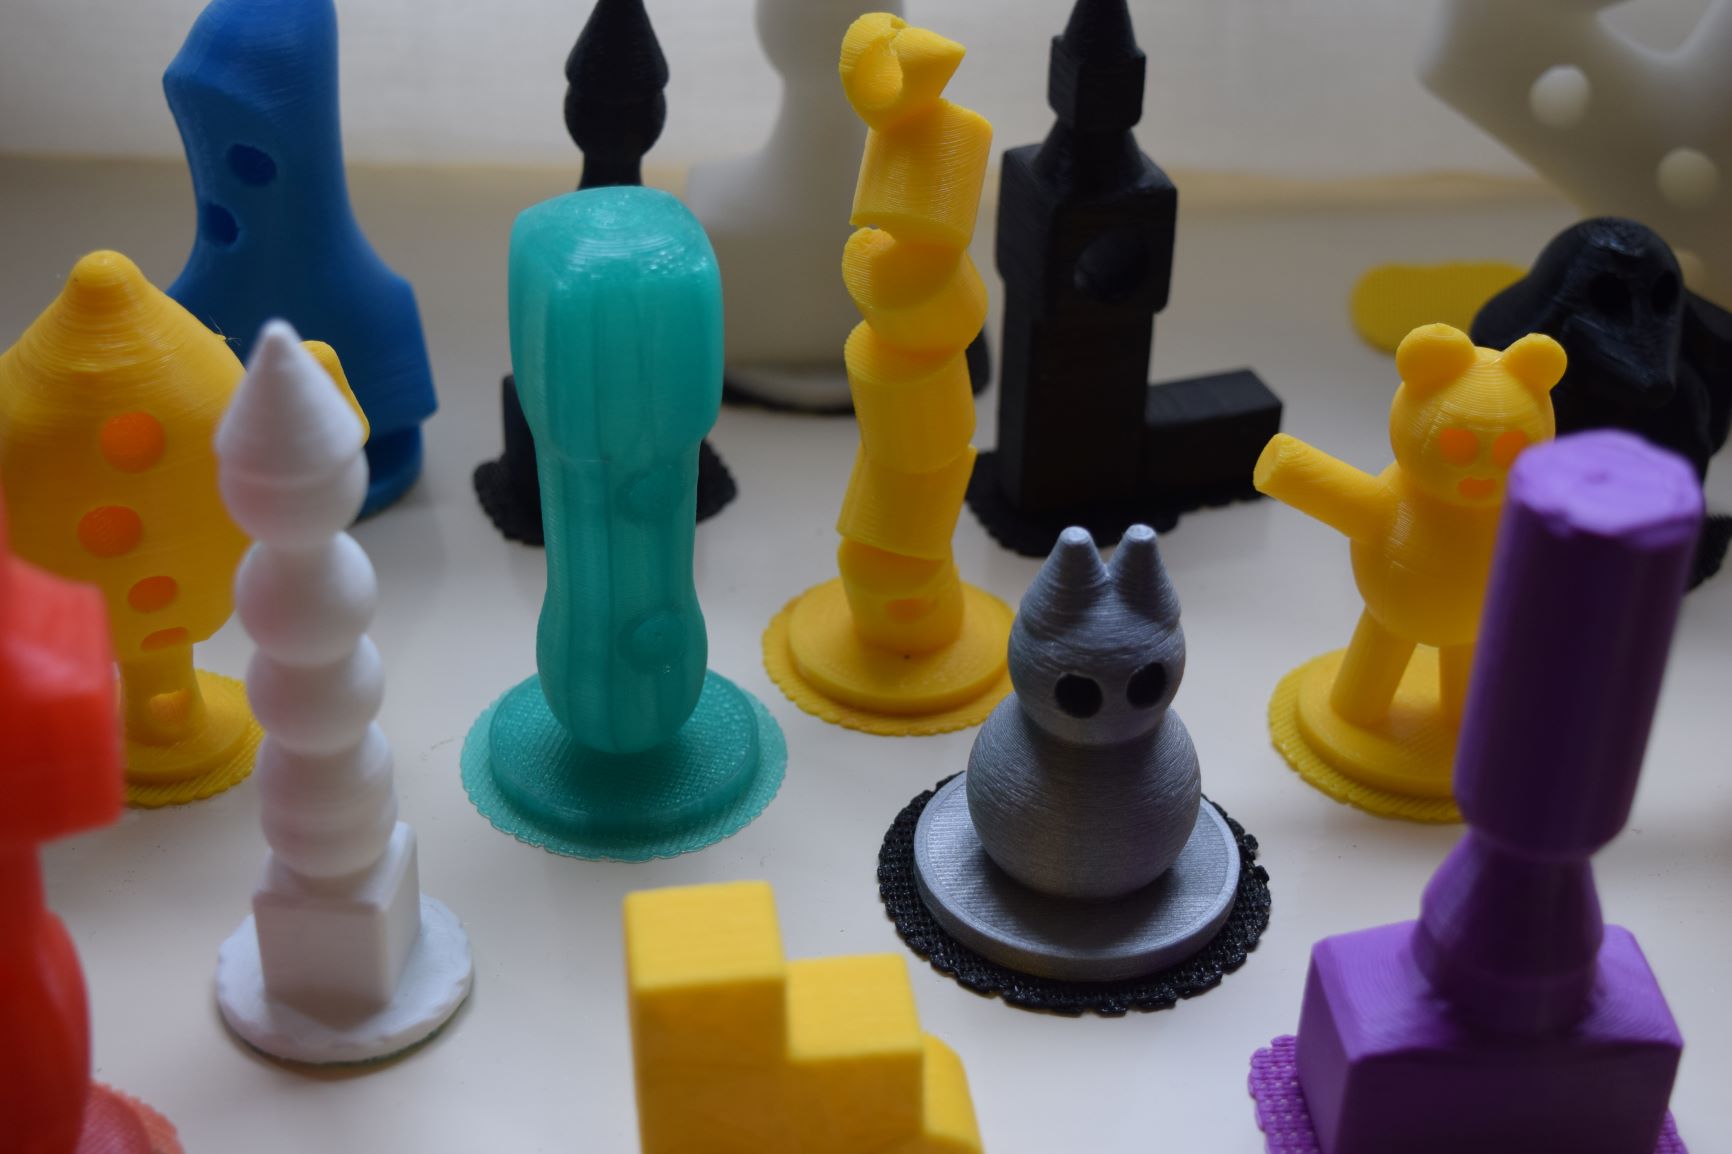
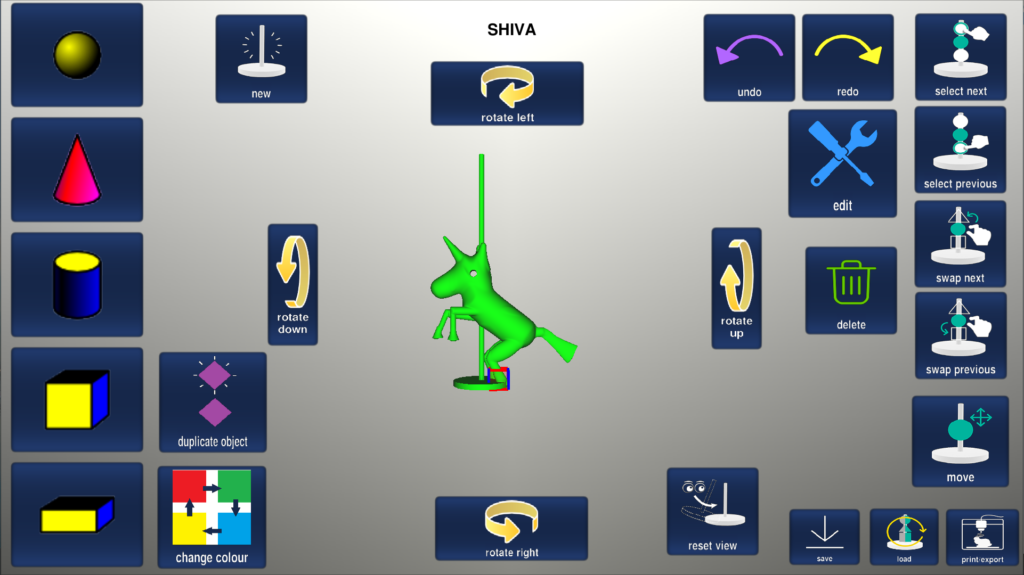
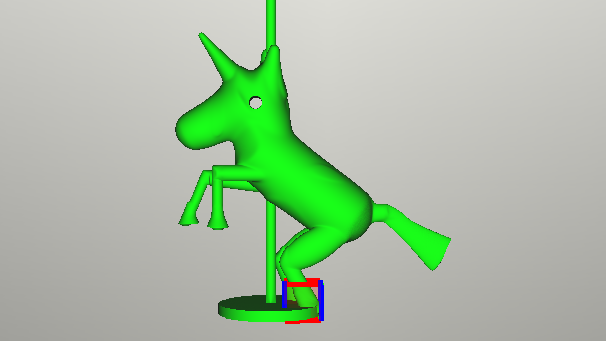
This means that if you are determined you can create some quite complex models:
Please note: this might not print on some 3D printers (more about this later).
Access methods and profiles
The SHIVA software can be accessed by any method that controls the cursor. These include a conventional computer mouse, joystick, trackball, a touch screen and eye gaze.
The software also has a profile for switch scanning. This is currently basic single button one switch scanning i.e. each button/cell on the interface highlights in turn and the switch is pressed to select the currently highlighted button. The scan pattern is roughly in columns. The switch interface you use should be set to emulate the space bar.